Sutured Wound
Suturing is a term used to describe the closing of a wound, artery or part of an organ using a specific needle and thread. The main reasons for suturing wounds include to:
– enable the wound to heal properly
– inhibit infections.
– reduce dead space
– approximate skin edges to reduce scarring
Hence, correctly sutured wounds tend to heal faster and have the least chance of infections and the least scarring.
Suturing is a very important skill for surgeons, physicians, dentists, nurses and other medical practitioners to master.
Suture Materials
Surgical sutures generally involve a needle with an attached length of thread. A variety of different sizes, shapes, properties and thread materials have been developed over time.
The ideal surgical needle should be rigid enough to resist distortion, yet flexible enough to bend before breaking, be as slim as possible to minimize trauma, sharp enough to penetrate tissue with minimal resistance, and be stable within a needle holder to permit accurate placement.
Suture thread is made from numerous materials such as silver wire, polyglycolic acid, polylactic acid, Monocryl, nylon, polyester and polypropylene.
All sutures are classified as either absorbable or non-absorbable depending on whether the body will naturally degrade and absorb the suture material over time or it has to be removed.
Absorbable suture materials include the original catgut as well as the newer synthetics polyglycolic acid, polylactic acid, polydioxanone, and caprolactone. Non-absorbable sutures are made of special silk or the synthetics polypropylene, polyester or nylon and stainless steel wires which are commonly used in orthopedic surgery and for sternal closure in cardiac surgery.
Suturing Techniques
Many suturing techniques exist. Some of the common suturing techniques include:
- Simple interrupted stitch – This is the most common suturing technique. It is known as an interrupted stitch because the individual stitches aren’t connected; they are separate.
- Continuous stitch – This is a quick suturing technique but there is a risk of failing if the suture is cut in just one place so therefore the continuous locking stitch is a more secure variation.
- Vertical mattress stitch – This is a more complicated suturing technique. The pros of the vertical mattress stitch are that it provides closure for both deep and superficial layers and the cons are that it can cause prominent stitch mark scars.
- Horizontal mattress stitch – This method of suturing is ideal for holding together fragile skin as well as skin under high tension such as facial laceration.
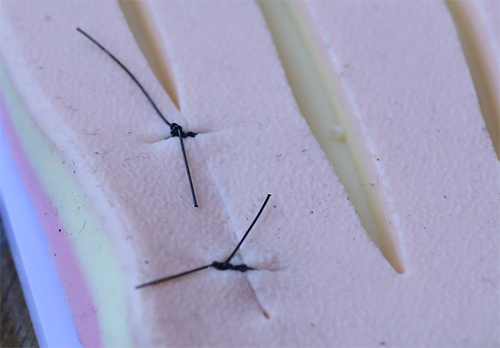
Simple Interrupted Suture
The simple interrupted stitch is a suturing technique used to close wounds. It is the most commonly used technique in the closure of skin. It is known as an interrupted stitch because the individual stitches aren’t connected; they are separate.
Placing and tying each stitch individually is time-consuming, but this technique keeps the wound together even if one suture fails. It is simple and relatively easy to place. A surgeon’s knot or knots cross the wound perpendicularly. The knots should not be left over the wound but placed on one side to avoid scarring and to make the removal of the stitches easier.
Procedure for Simple Interrupted Suture
1. Wash hands and prepare the wound. Wash your hands to reduce the chances of infecting the wound. Prepare the wound for suturing by cleaning out any debris with water. Clean out as much blood as possible. Put on latex gloves.
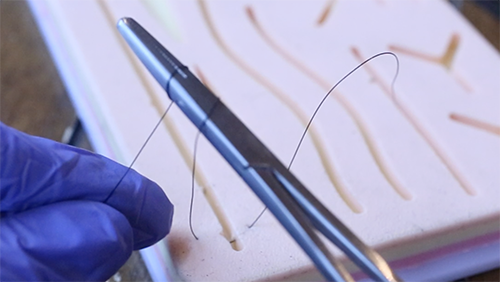
2. Use your needle driver to grab the needle. Make sure the needle clamp locks in place. Pull all the thread out of the suture kit.
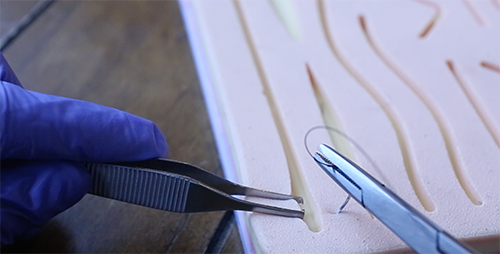
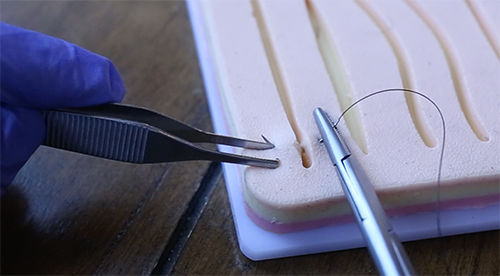
3. Use the tissue forceps to expose the side of the wound you’ll begin the suture on. This lets you see what you’re working with and how deep the wound goes. Line up the edges of the wound as much as you can.
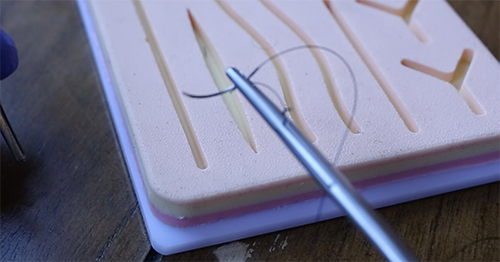
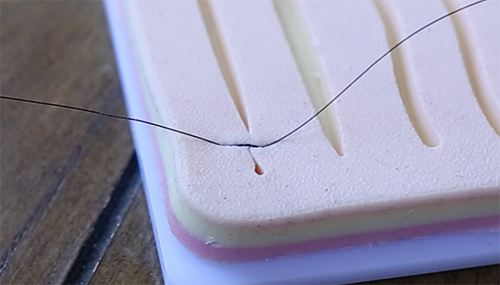
4. Push the needle through the skin at a 90-degree angle about a centimeter to the right of the wound. Don’t go below the fat. Just right above it.
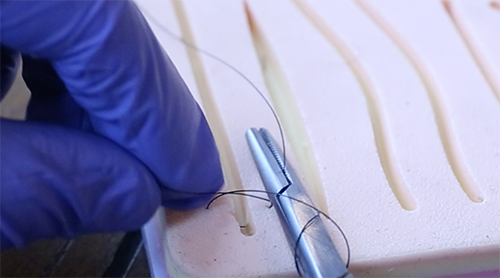
5. When you’ve gone deep enough, twist your hand clockwise so that the needle starts coming up on the other side of the wound. You want the needle to come out straight across from the first needle hole.
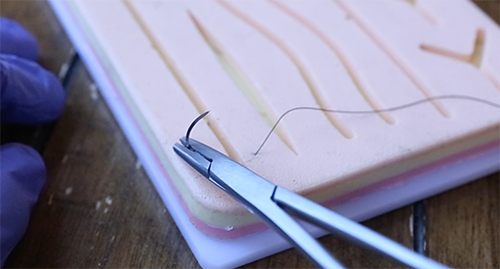 6. When the needle has come out on the other side of the wound, unlock the needle driver, reattach it near the tip of the needle (you don’t need to lock it), and pull until you have about 1-2 inches of thread left on the right side of the wound. Release the needle.
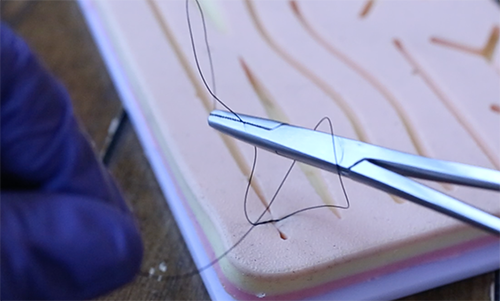
7. Using your left hand, hold the thread on the left side of the needle and wrap it twice around the tip of the needle holder.
8. Slightly open the needle holder and grab that 1-2″ of thread on the right side of the wound.
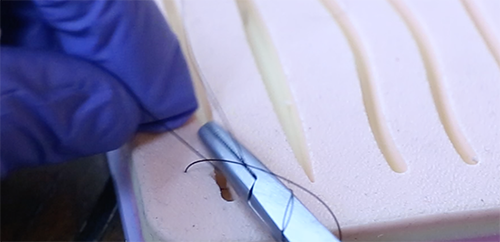
9. Using your left hand, pull the long part of the thread. The part of the thread wrapped around the needle holder will slide off. You’ll have created a simple overhand knot with two loops. This is called the “first throw.”
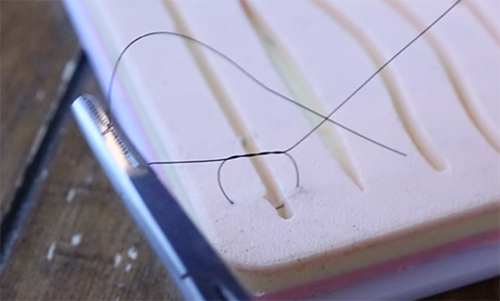
10. Tighten things so that the tissue is just touching and make sure the knot is lying flat.

11. Time for the “second throw.” Using your left hand, hold the long end of the thread and wrap it once around the needle driver clockwise. Slightly open the needle driver and grab the short end of the thread. Using your left hand, pull the long part of the thread. You’ll finish off your surgeon’s knot with another overhand knot.
12. Repeat step 11 one more time for a “third throw” to create a secure knot. Instead of wrapping the thread clockwise around the needle driver, wrap it counter-clockwise. This will prevent the knot from slipping.
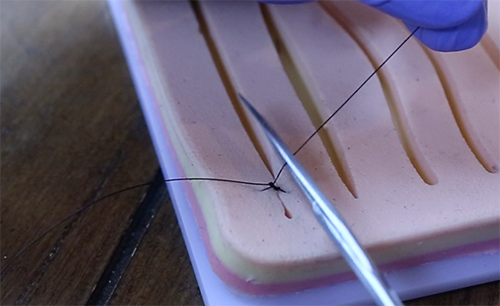
13. Cut the excess thread.
14. Move a quarter-inch down the wound and repeat the process.
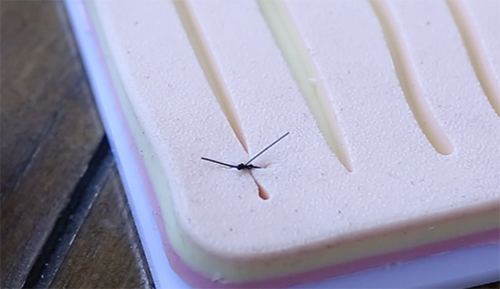
15. Make sure all the knots are lined up on the same side. Mine is on the left side of the wound.
16. Wrap your sutured wound with a sterilized bandage. Follow up.
So that’s it’s for sutured wounds. Feel to share your thoughts in the comment section below.
Read More: Rib Removal Surgery


